Don't just send an estimate—sell your value. With AI Proposal, create professional, engaging proposals that showcase your company and services, build customer confidence, and help turn more estimates into accepted jobs.
Here’s how to get started with AI Proposal
Login to your Markate account.
Hover over More in the top navigation menu.
Click Add-ons
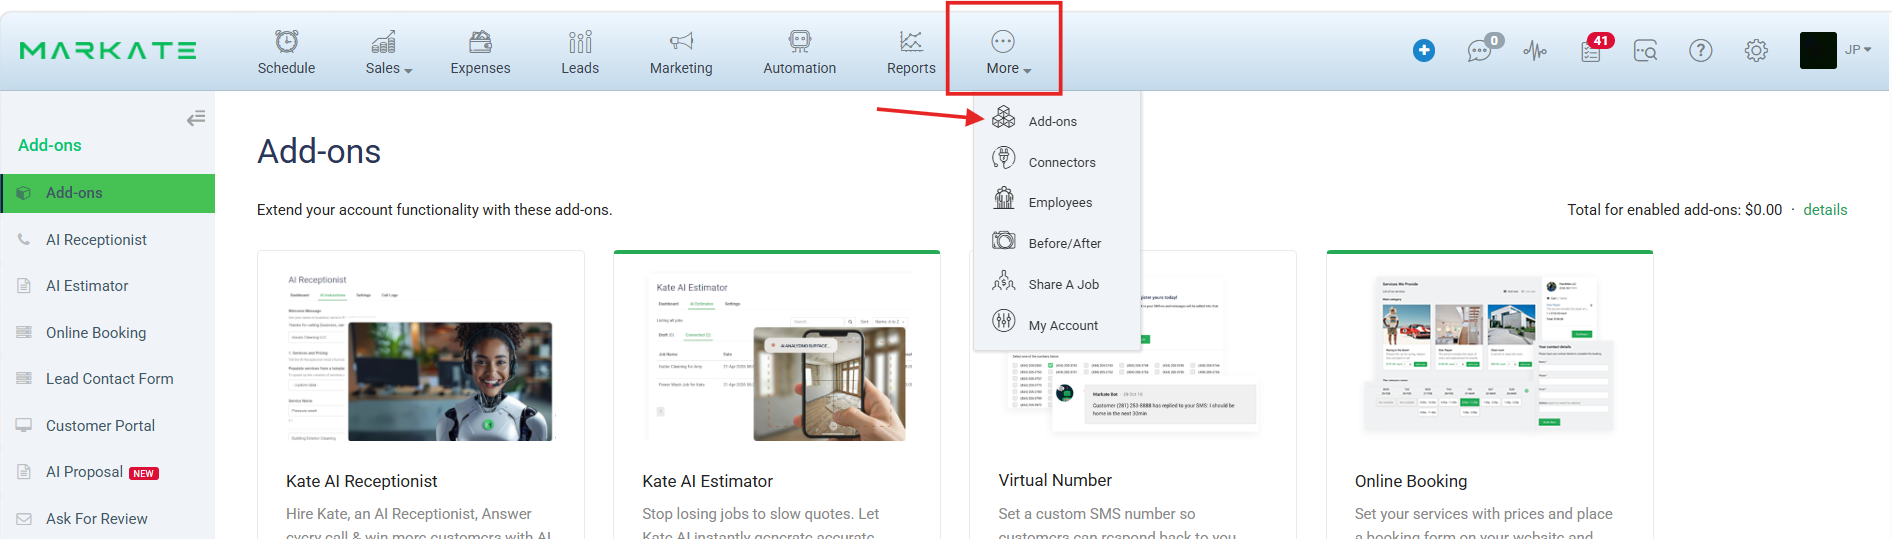
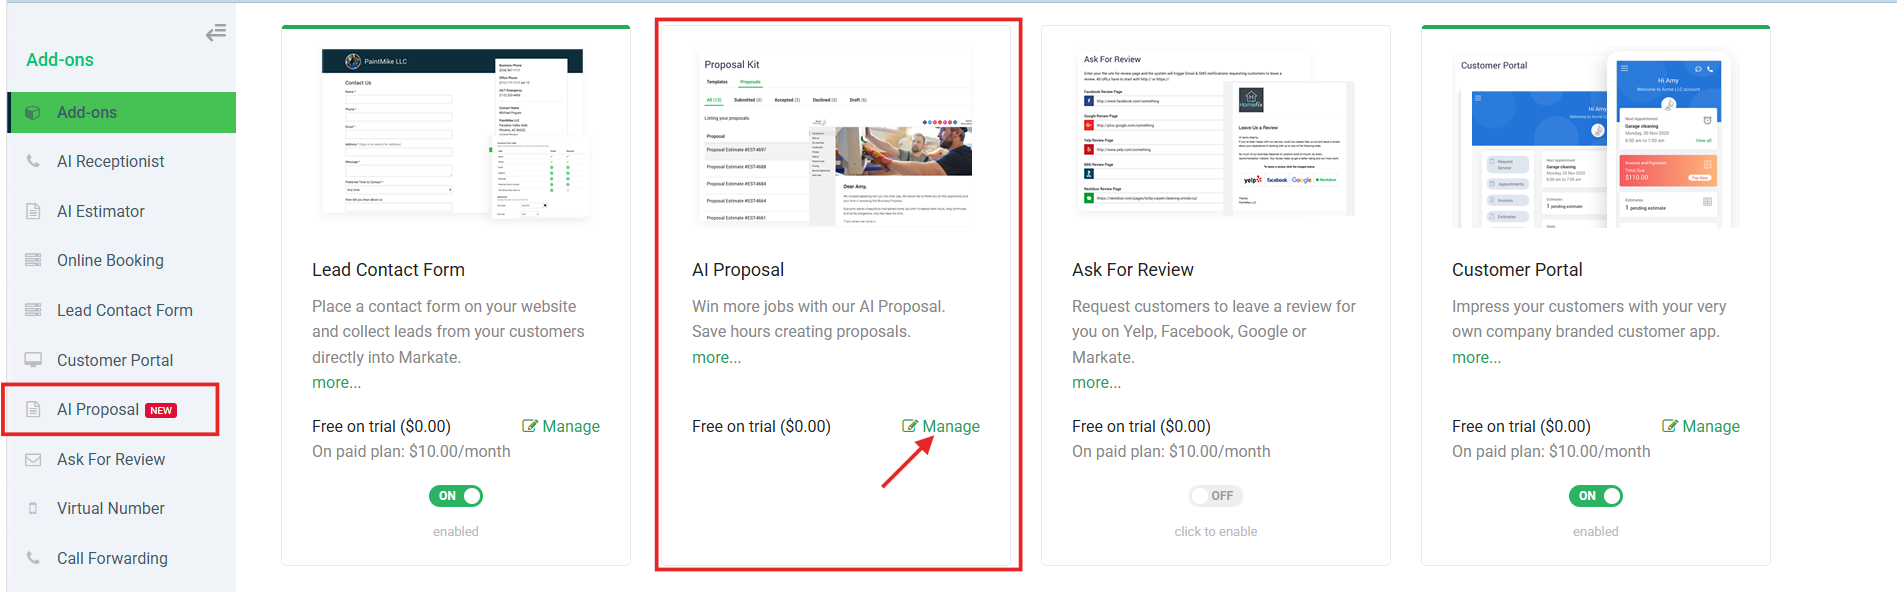
On the Add-ons page, go to the AI Proposal section and click Manage.
Next, on the AI Proposal page, make sure the Templates tab is selected. Click + Create Template to start creating your AI Proposal template.

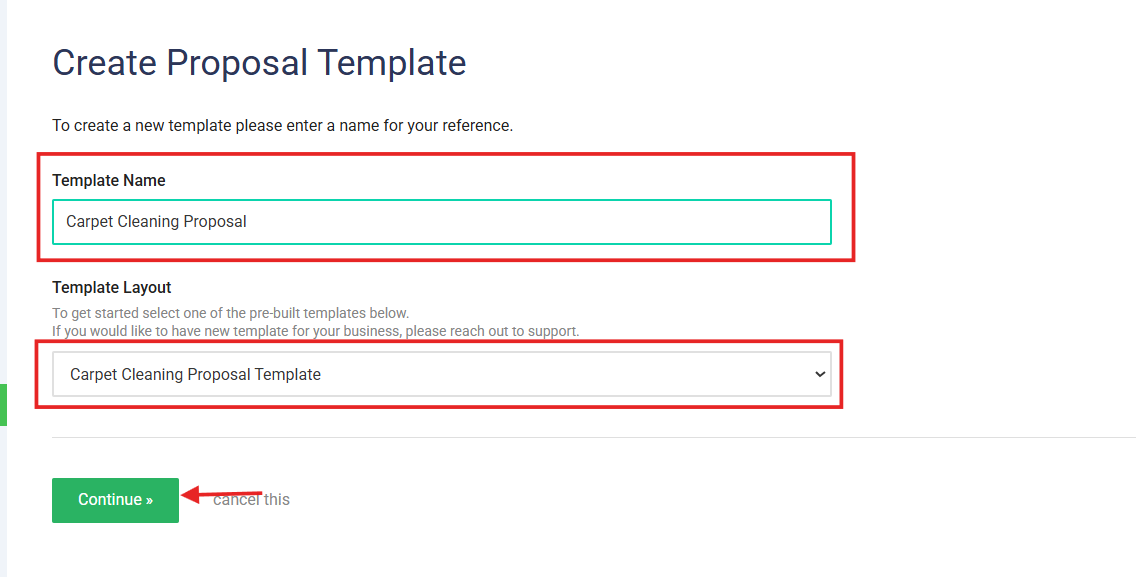
On the next screen, enter a Template Name for your reference and select the relevant Template Layout from the dropdown list. Click Continue.
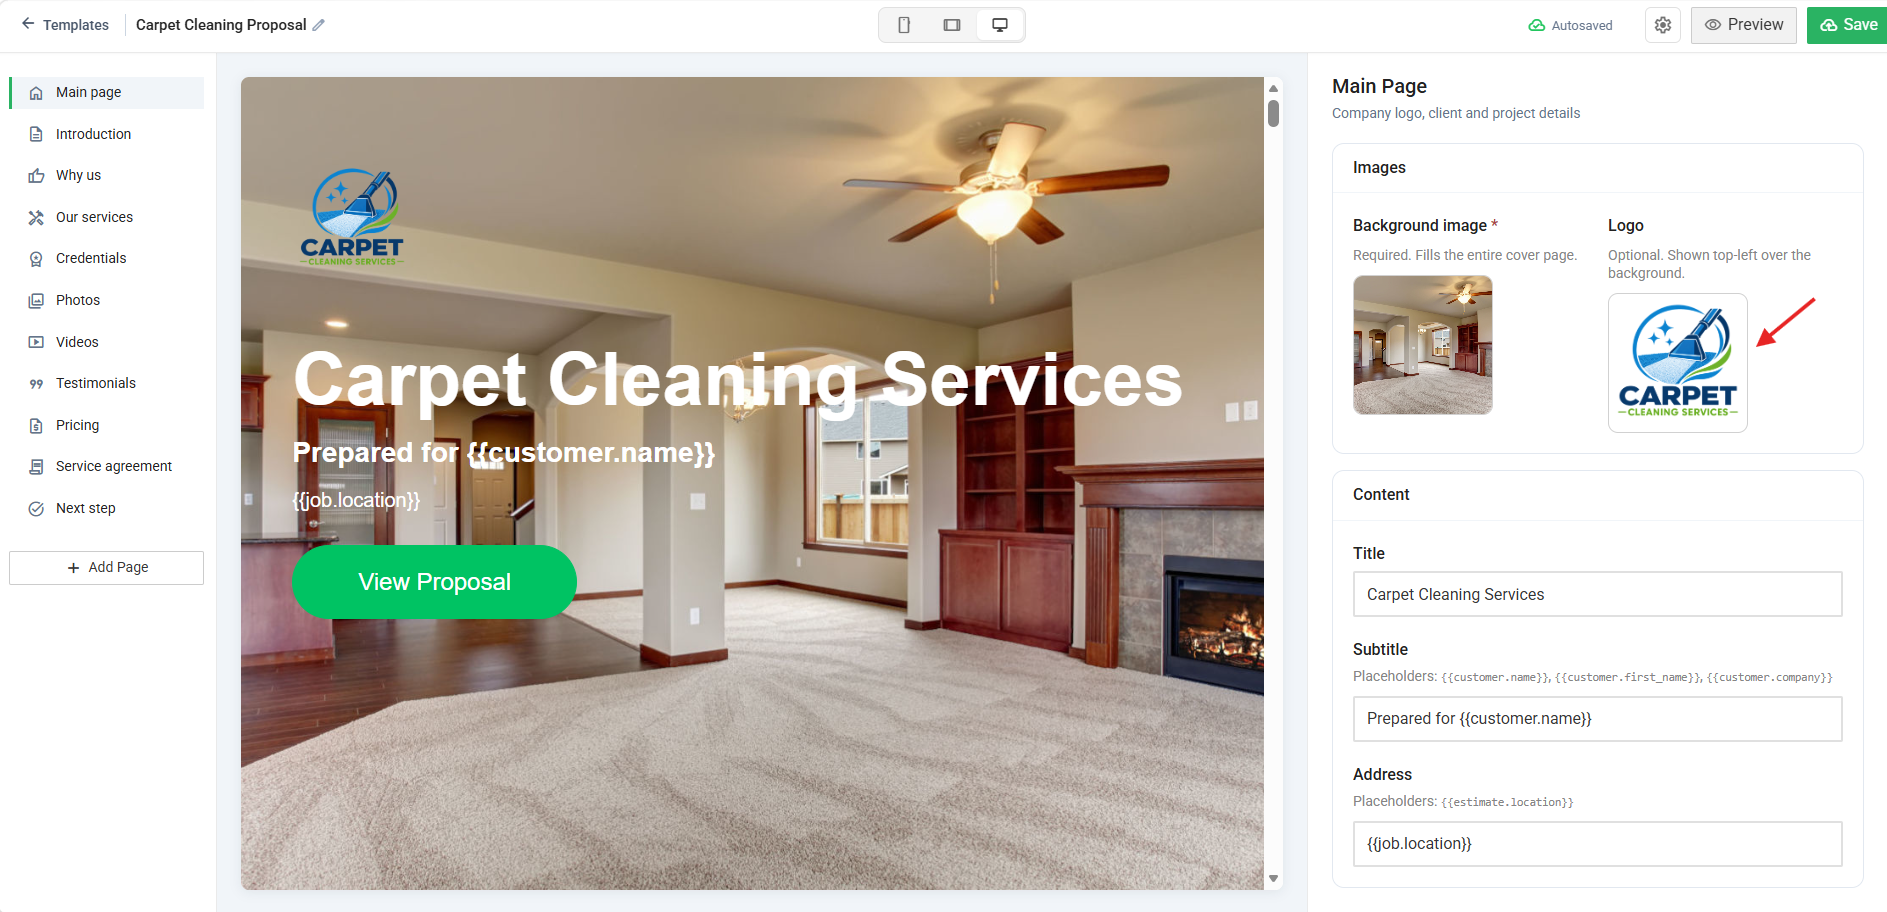
Now, start customizing your proposal with the help of AI. Let’s look at some of the features that can help you while customizing your proposal.
From the left panel, you can select the page you would like to edit.
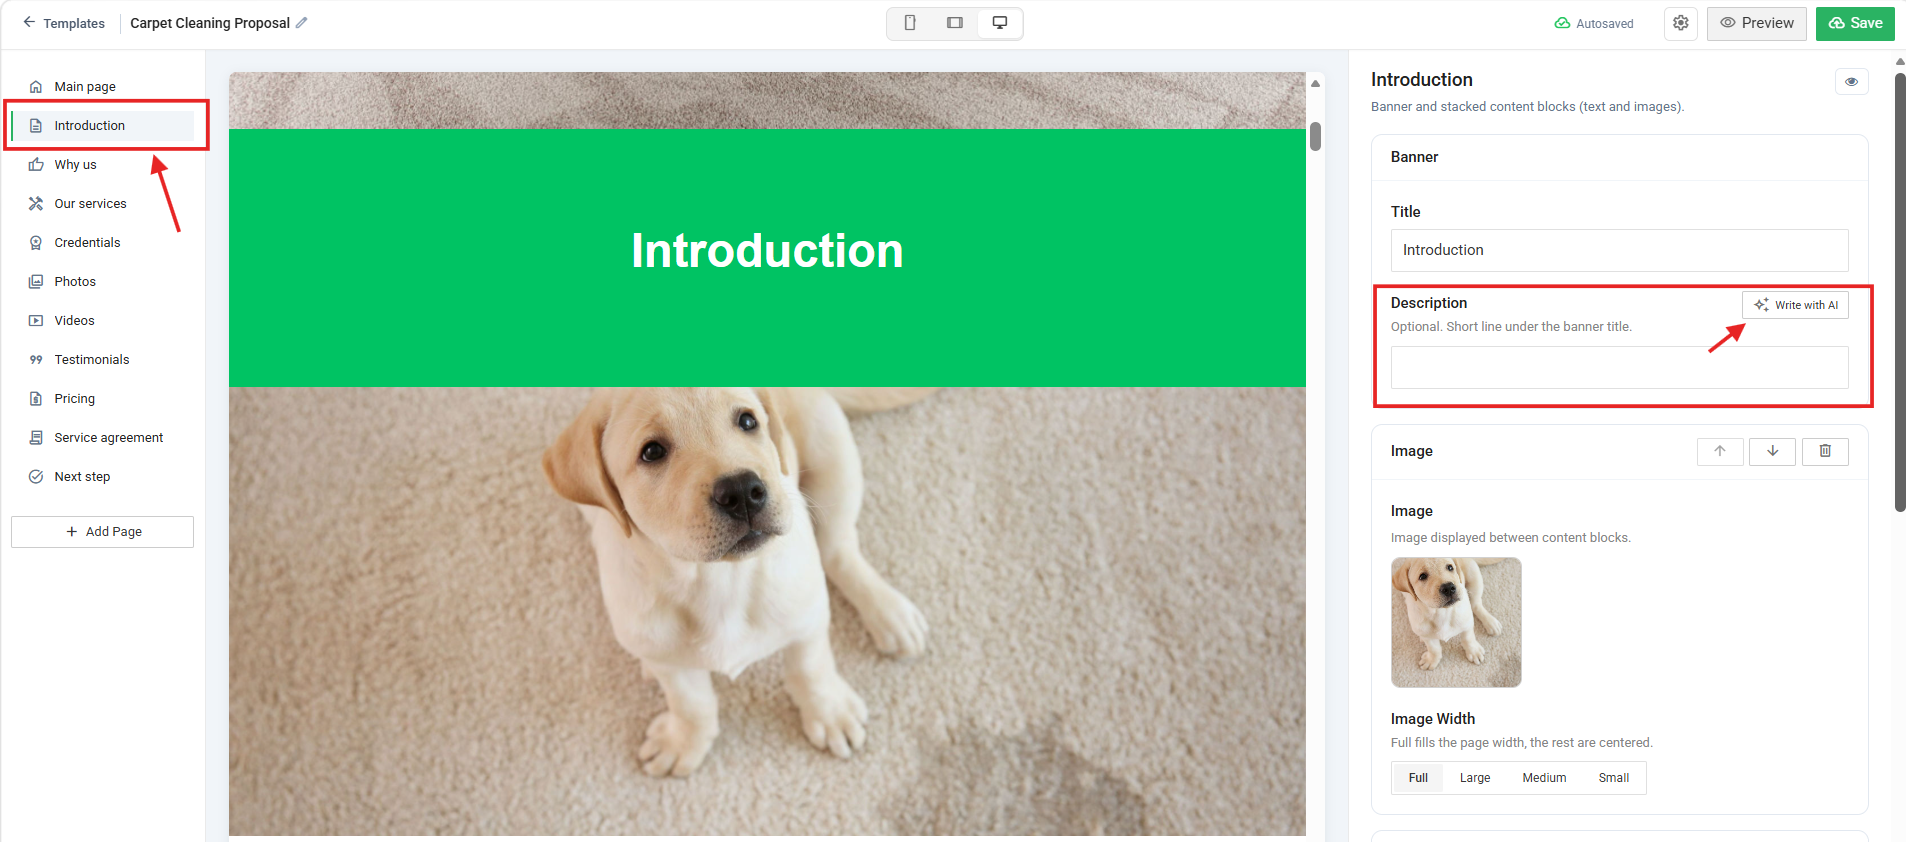
On the main page, you can add your business logo, change the background image, and edit the title.
As you move to the next page, Introduction, you’ll see that some text has already been created for you. Simply review it and modify it according to your requirements. You can use the Write with AI feature to improve the content. For example, go to Description and click Write with AI.
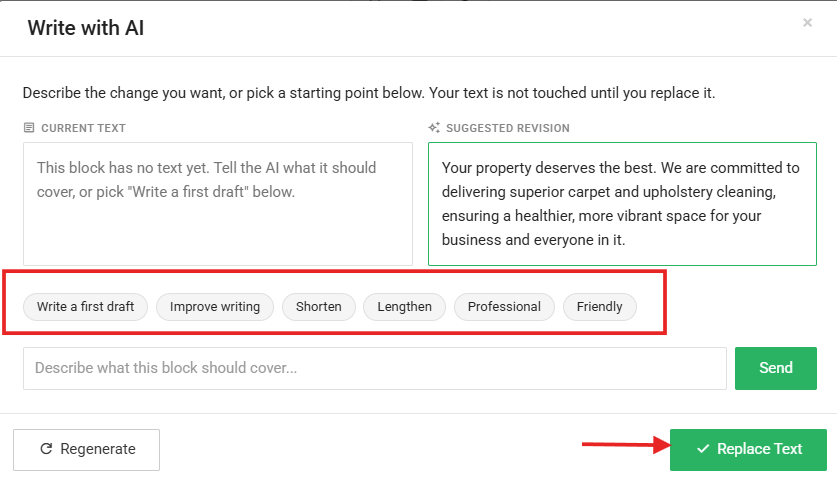
A pop-up will appear with options such as Write a first draft, Improve writing, and more. It compares the existing text with the suggested text. The current text will only be replaced when you click Replace Text.
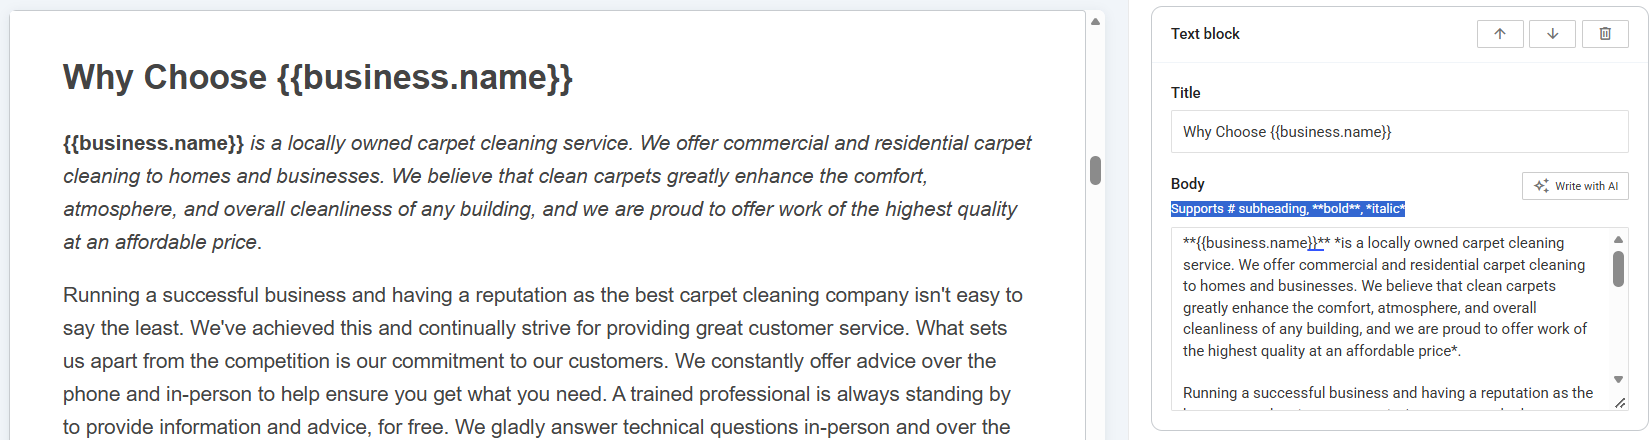
Formatting Option:
You can use asterisks (*) to easily format your text in italic or bold, making your content more clear, engaging, and visually appealing. For Bold, use **Bold** and Italic, use *Italic*.
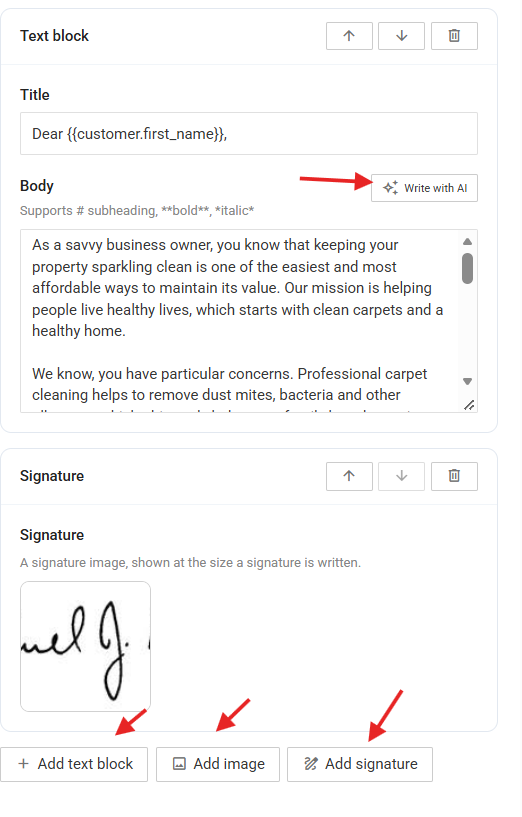
Similarly, you can write or modify any text using Write with AI throughout the proposal to make it more professional and engaging.
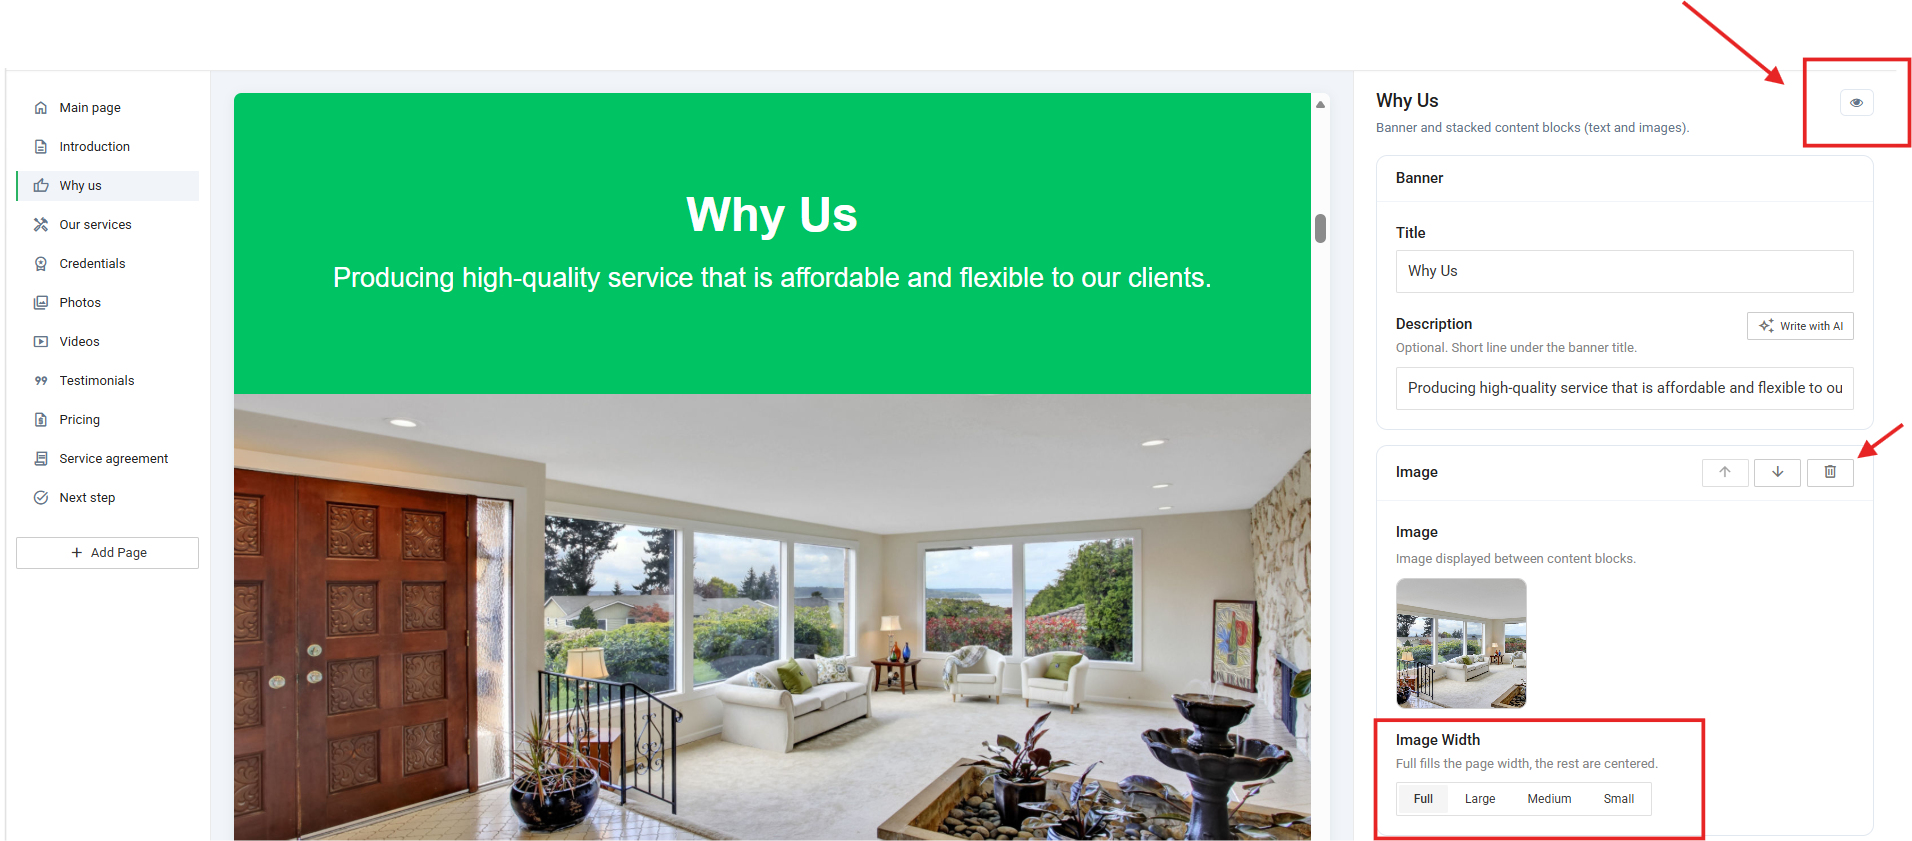
In addition to writing with AI, you can add more text blocks and images, attach your signature, change the order of the blocks, delete blocks, and more. The proposal is fully customizable to meet your business requirements.
You can also hide or display a page by clicking the Eye icon in the top-right corner of the respective page, as shown in the screenshot below.
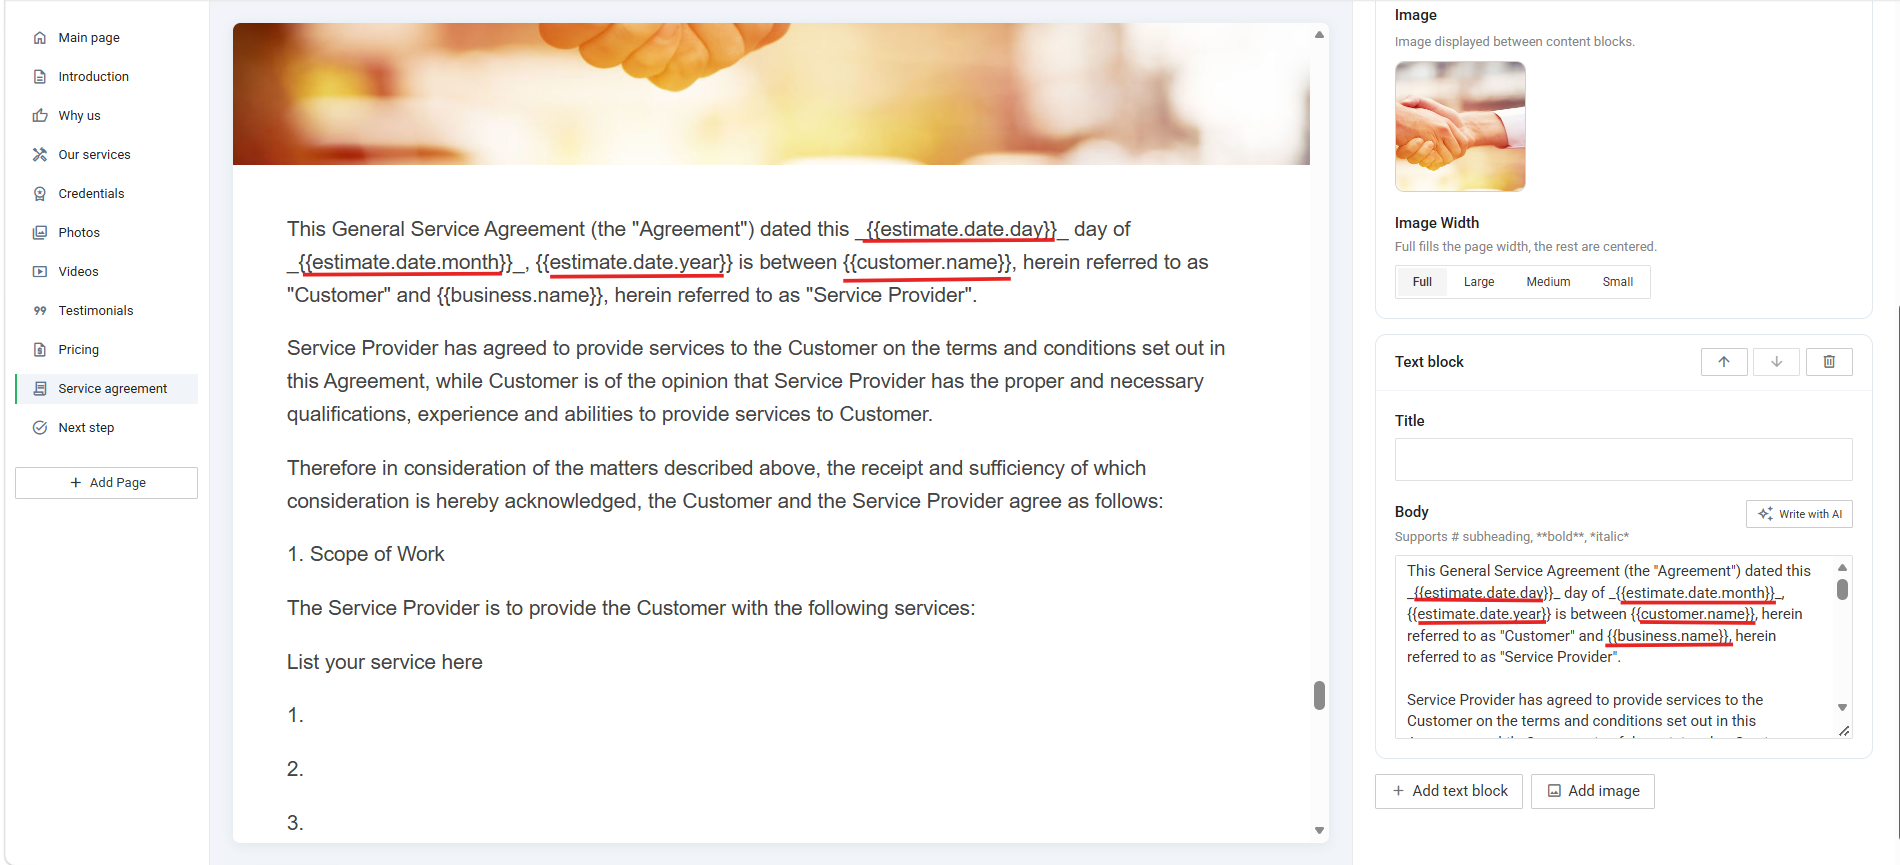
Important Note:
Placeholders will automatically be replaced with the appropriate values, such as the customer’s name, estimate date, and other relevant details, wherever the placeholders appear throughout the proposal.
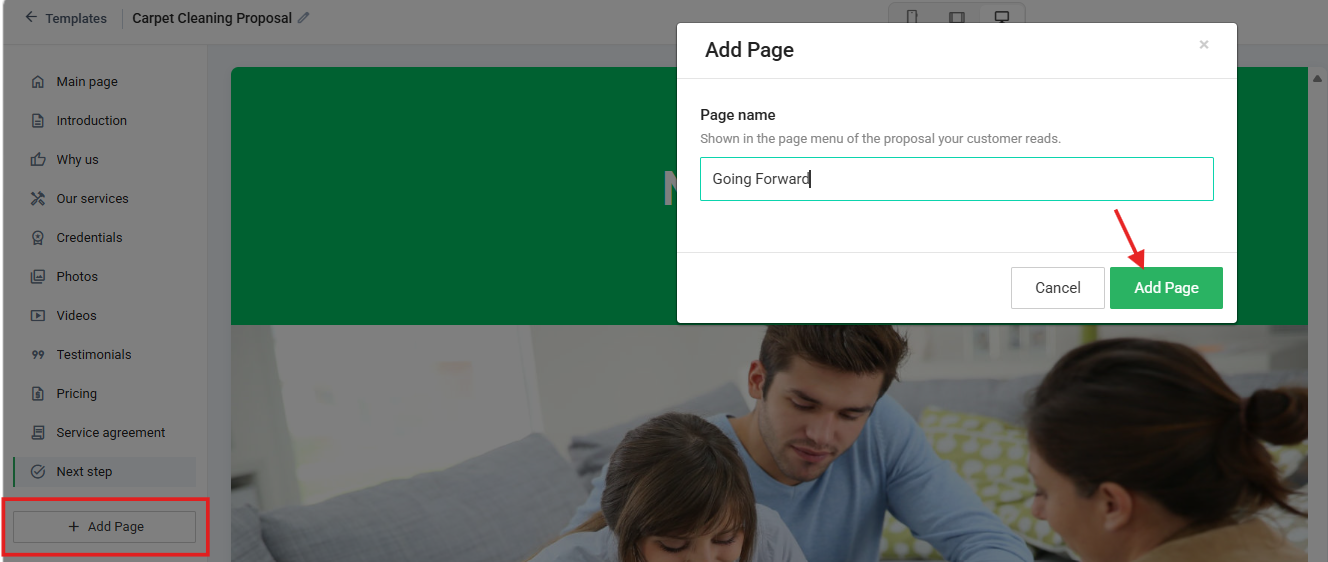
Click + Add Page to add more pages to your proposal. In the Add Page pop-up, enter the name of the page and click Add Page. The new page will be added as the second-to-last page in the list, just above the Next Step page.
Let’s look at a few more functionalities
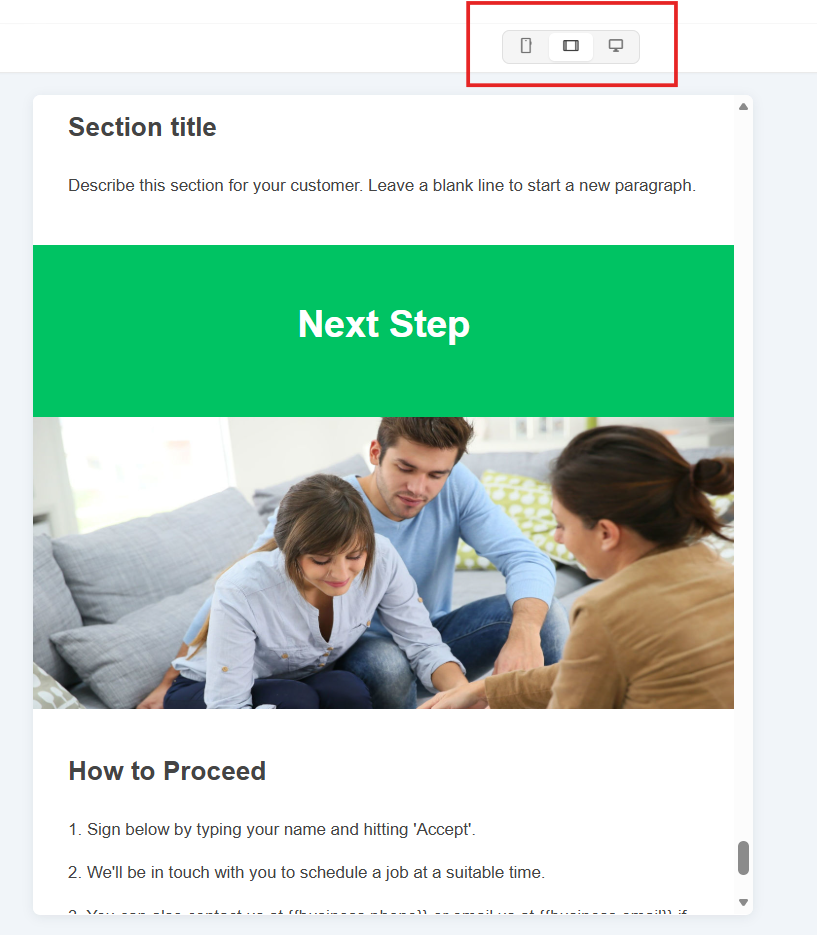
You can switch between different modes to verify that your proposal looks perfect in each view.
Click Settings in the top-right corner to change the color combination throughout the proposal.
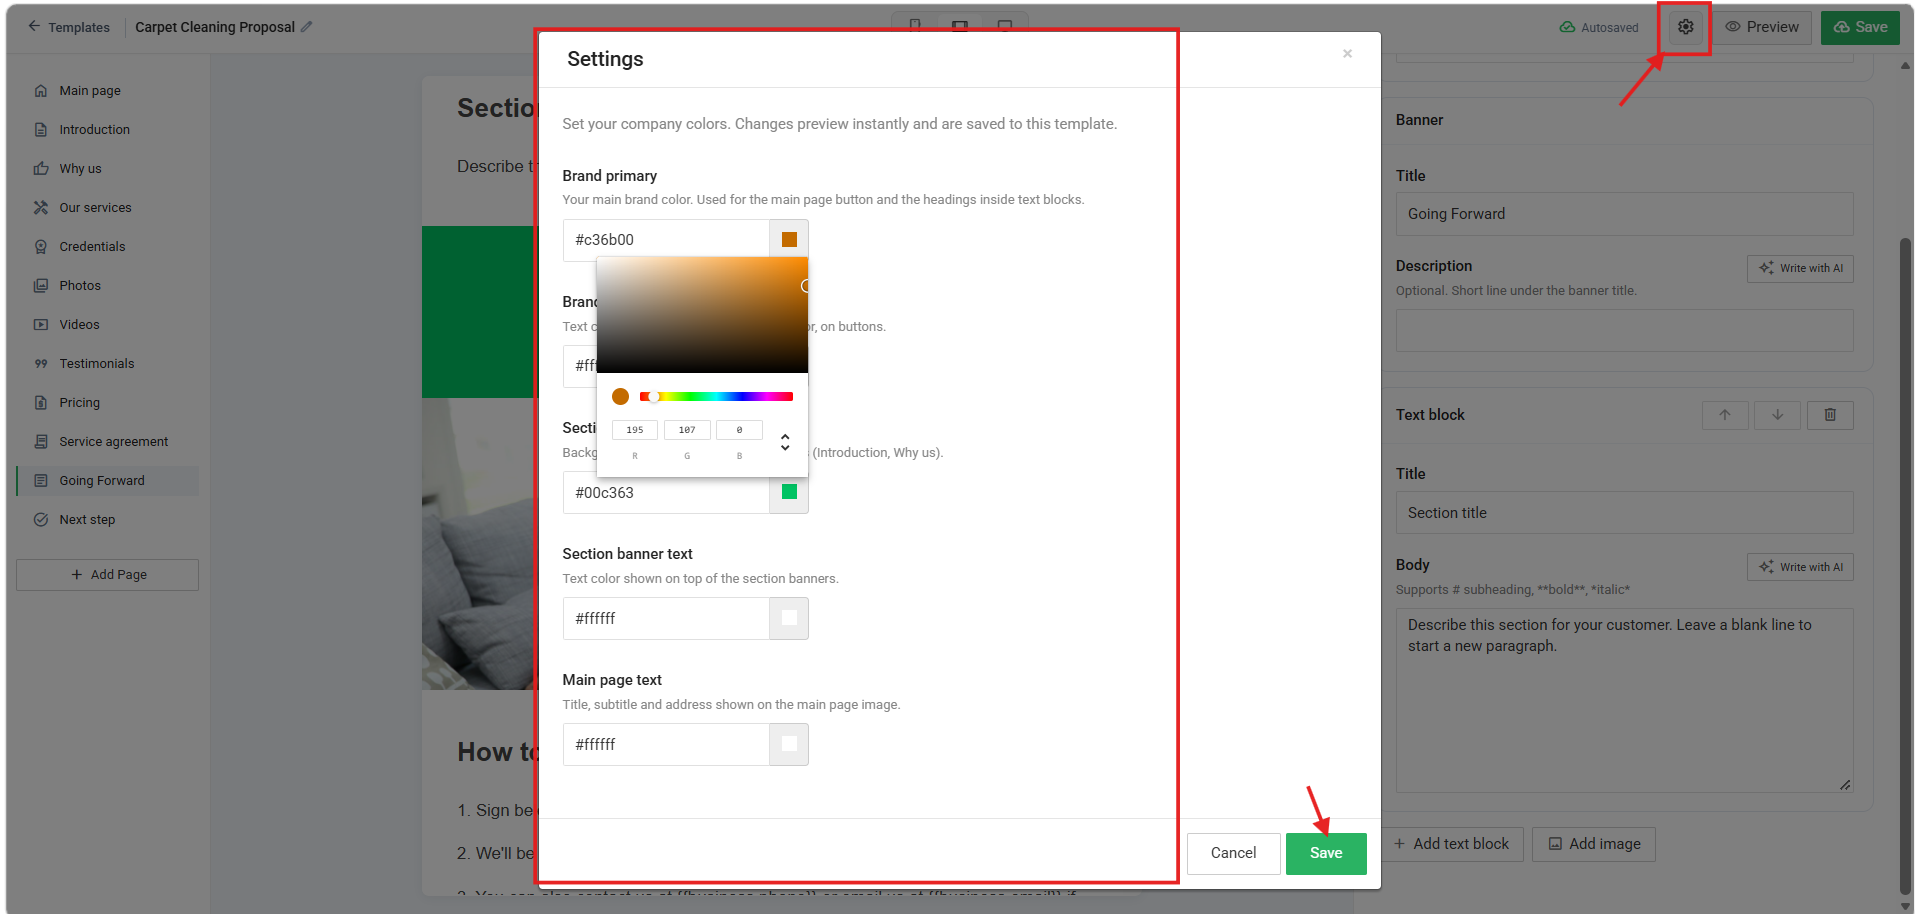
Once you’re done, click Save. However, the proposal is automatically saved as you make changes. You can also click Preview to see how the proposal will appear to your customer when it is sent.

In Preview, click PDF to download a PDF copy of the proposal. Click Edit to return to the proposal and make changes.

Once created, the proposal will be listed under Templates. From there, you can click Manage to manage or clone an existing proposal.
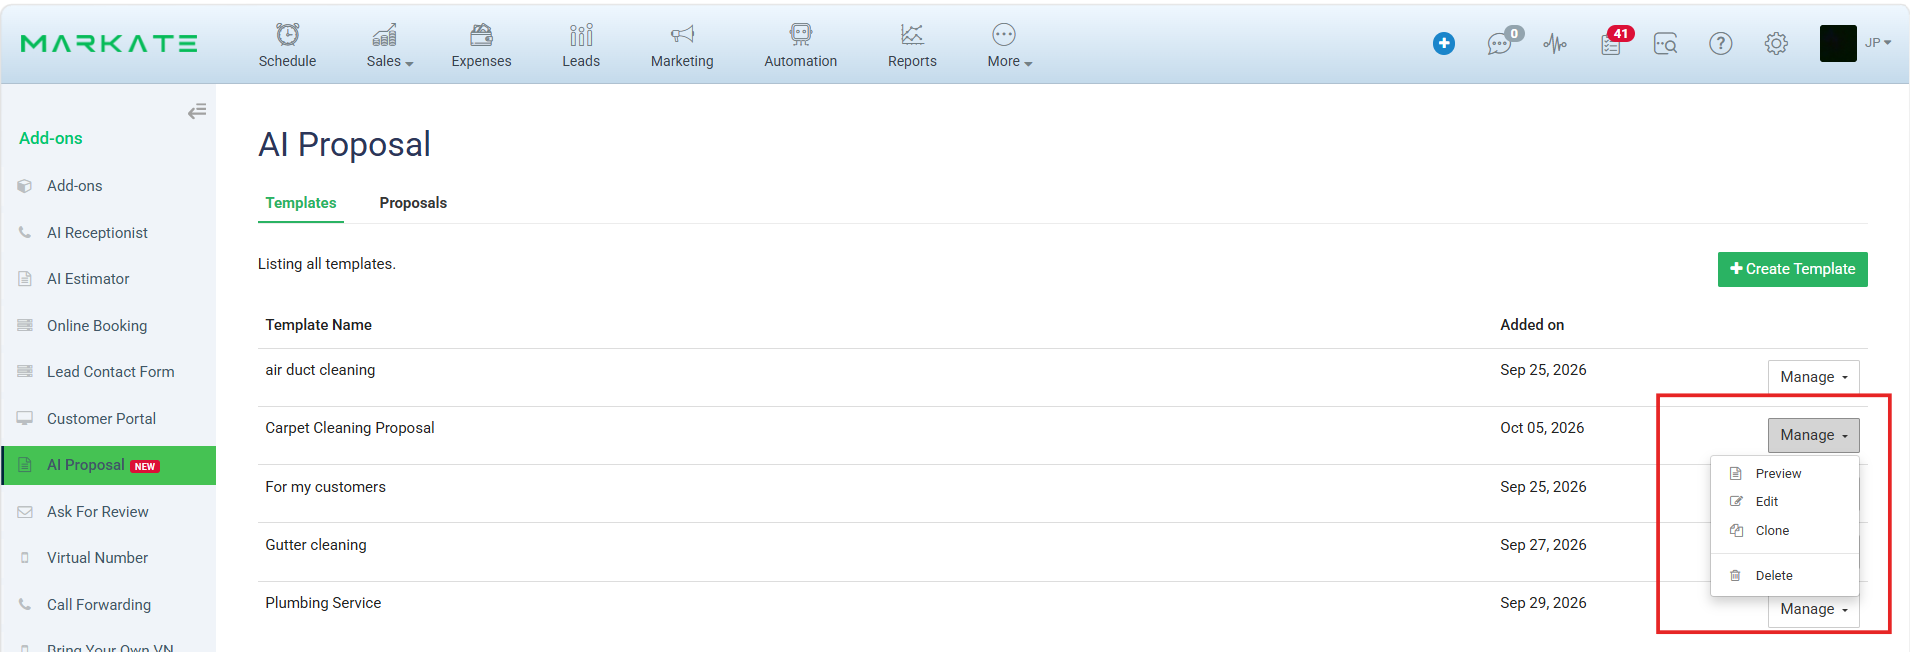
Attach the Proposal to an Estimate on Web
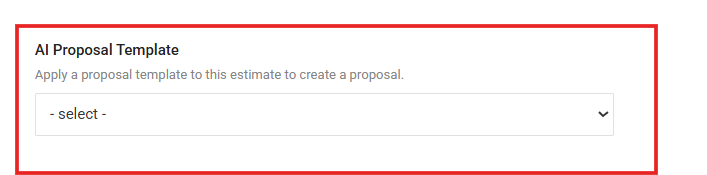
To attach a proposal to an estimate and send it to your customer, create an estimate and scroll down to the AI Proposal Template section. Select the desired proposal from the dropdown list.
Similarly, you can attach the proposal on the Markate App
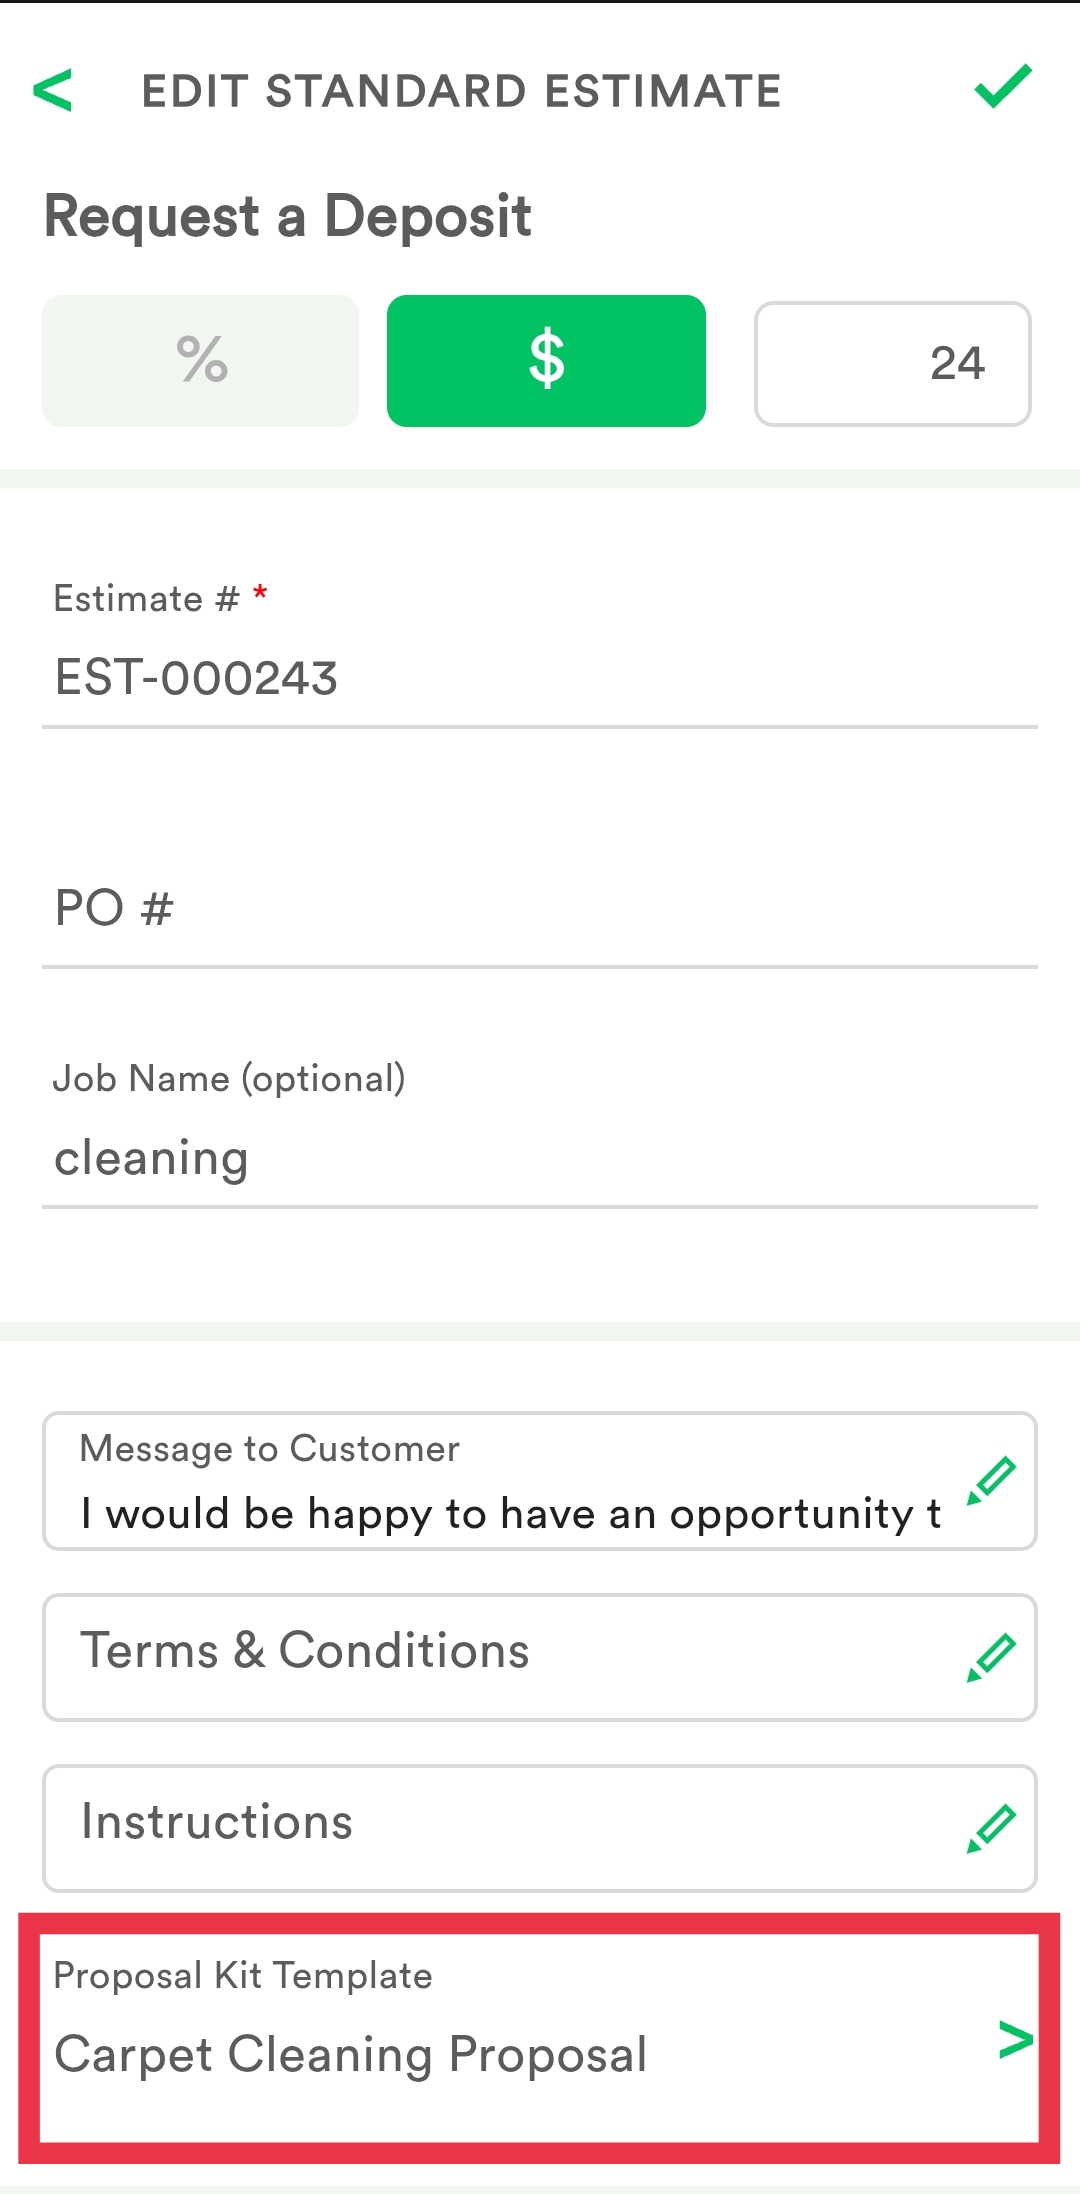
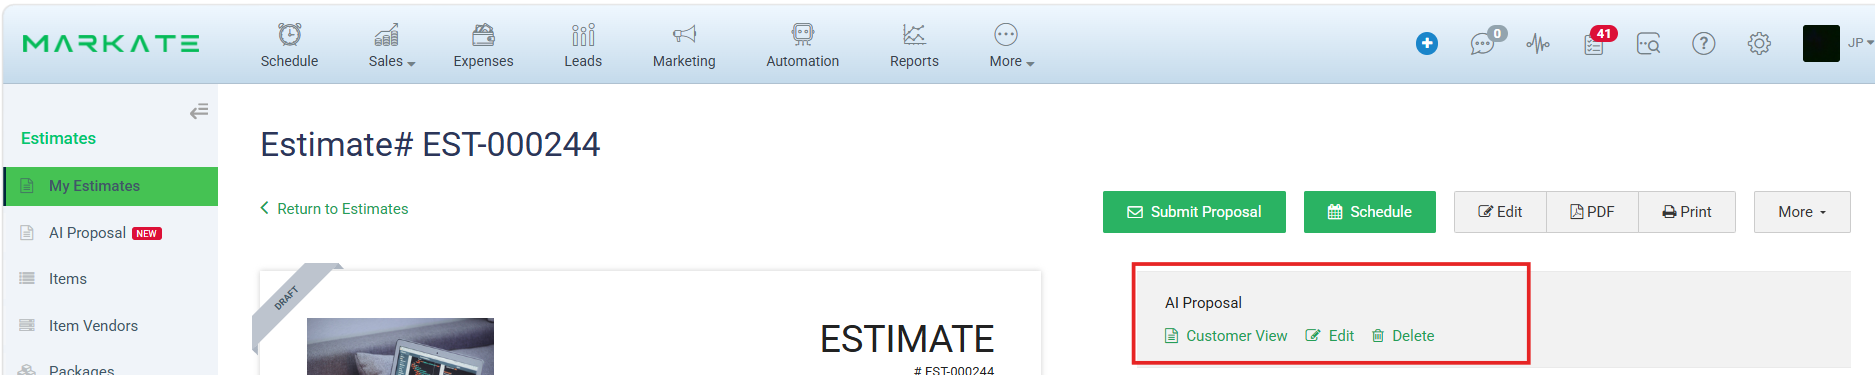
Once the draft estimate is ready, click Customer View in the AI Proposal section to perform a final verification before submitting it.
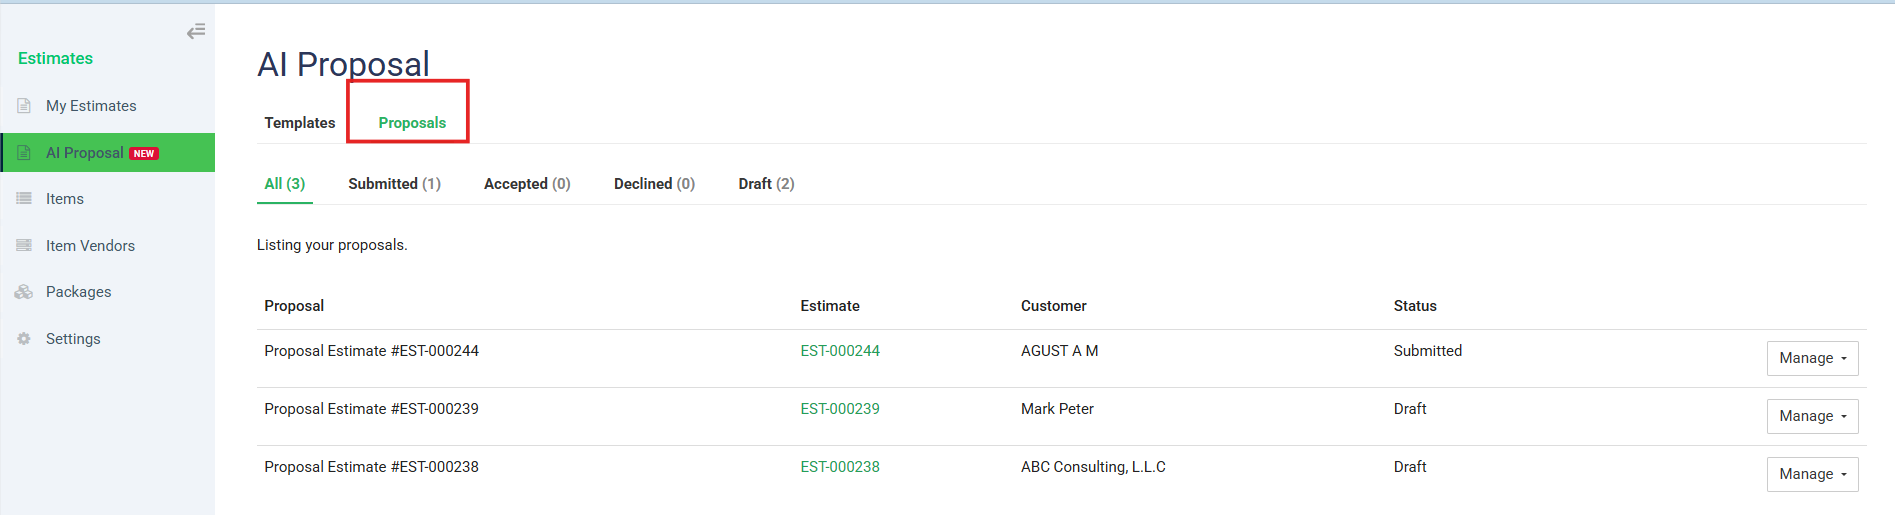
To track your submitted proposals, go to AI Proposal from the left panel. Under the Proposals tab, you can find all submitted proposals along with their Estimate ID and status.
Customer View
Here’s how your customers will view and accept the proposal:

Was this article helpful?
That’s Great!
Thank you for your feedback
Sorry! We couldn't be helpful
Thank you for your feedback
Feedback sent
We appreciate your effort and will try to fix the article